
Creating Forms Has Never Been Easier!!!! AWS Amplify Form Builder With Relationships!
Amplify Studio is a visual development environment for building full-stack web and mobile applications.

Amplify Studio is a visual development environment for building full-stack web and mobile applications. Within Studio is Form Builder. Form Builder is a visual interface for creating React forms. These forms can connect to data models directly. These data models are provided via our managed GraphQL service called AppSync.
With this connection, forms created by Form Builder can create, update or even delete data directly within AppSync, with minimal setup and configuration. Forms created in Form Builder can be pulled directly into an existing React application and work right out of the box!
Recently, we have announced a new feature to Form Builder that makes it even more powerful. Autocomplete fields with relationships! This feature allows form submitters to select records from related data models when working with forms.
Let’s take a look at how Form Builder works, and how we can use this new autocomplete feature.
Quick Start Guide
Let’s create an application using Amplify Studio with a couple of forms backed by relational data. We’ll then pull these forms into a React application to test.
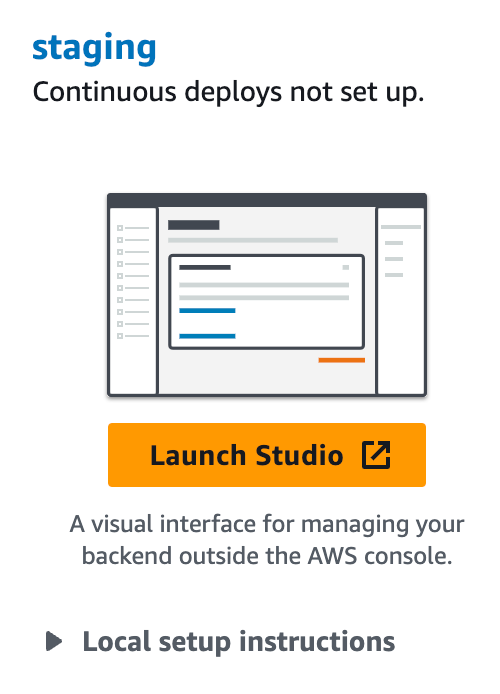
To begin, sign into your AWS Console and search for AWS Amplify and click on it. If this is the first time using Amplify, choose Get Started and click on the Get started again under Amplify Studio. If you’ve already created an Amplify app in this region you can click the New app → Build an app. Choose an app name, click Confirm deployment. Afterwords click Launch Studio to begin!
If you are an existing Amplify Studio user, Launch Studio from your existing application. This feature is available to all.
Amplify Studio
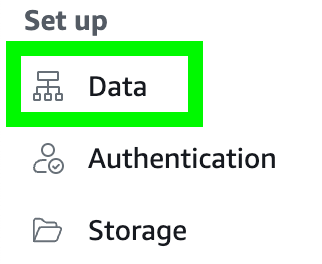
Inside Amplify Studio you’ll be presented with a number of options on the left hand side. Let’s take a look at Data by clicking on it.
Inside Data, you can create simple or complex structures and model the data exactly as you’d like. For this tutorial, let us imagine you are creating an admin interface and you want to edit, update or delete comments and posts. Each comment has one post. And a post can have between zero and many comments.
Click Add model and create Post and Comment. Be aware you must click the + Add a relationship button on the Post model so you can add a one-to-many relationship with Comment.
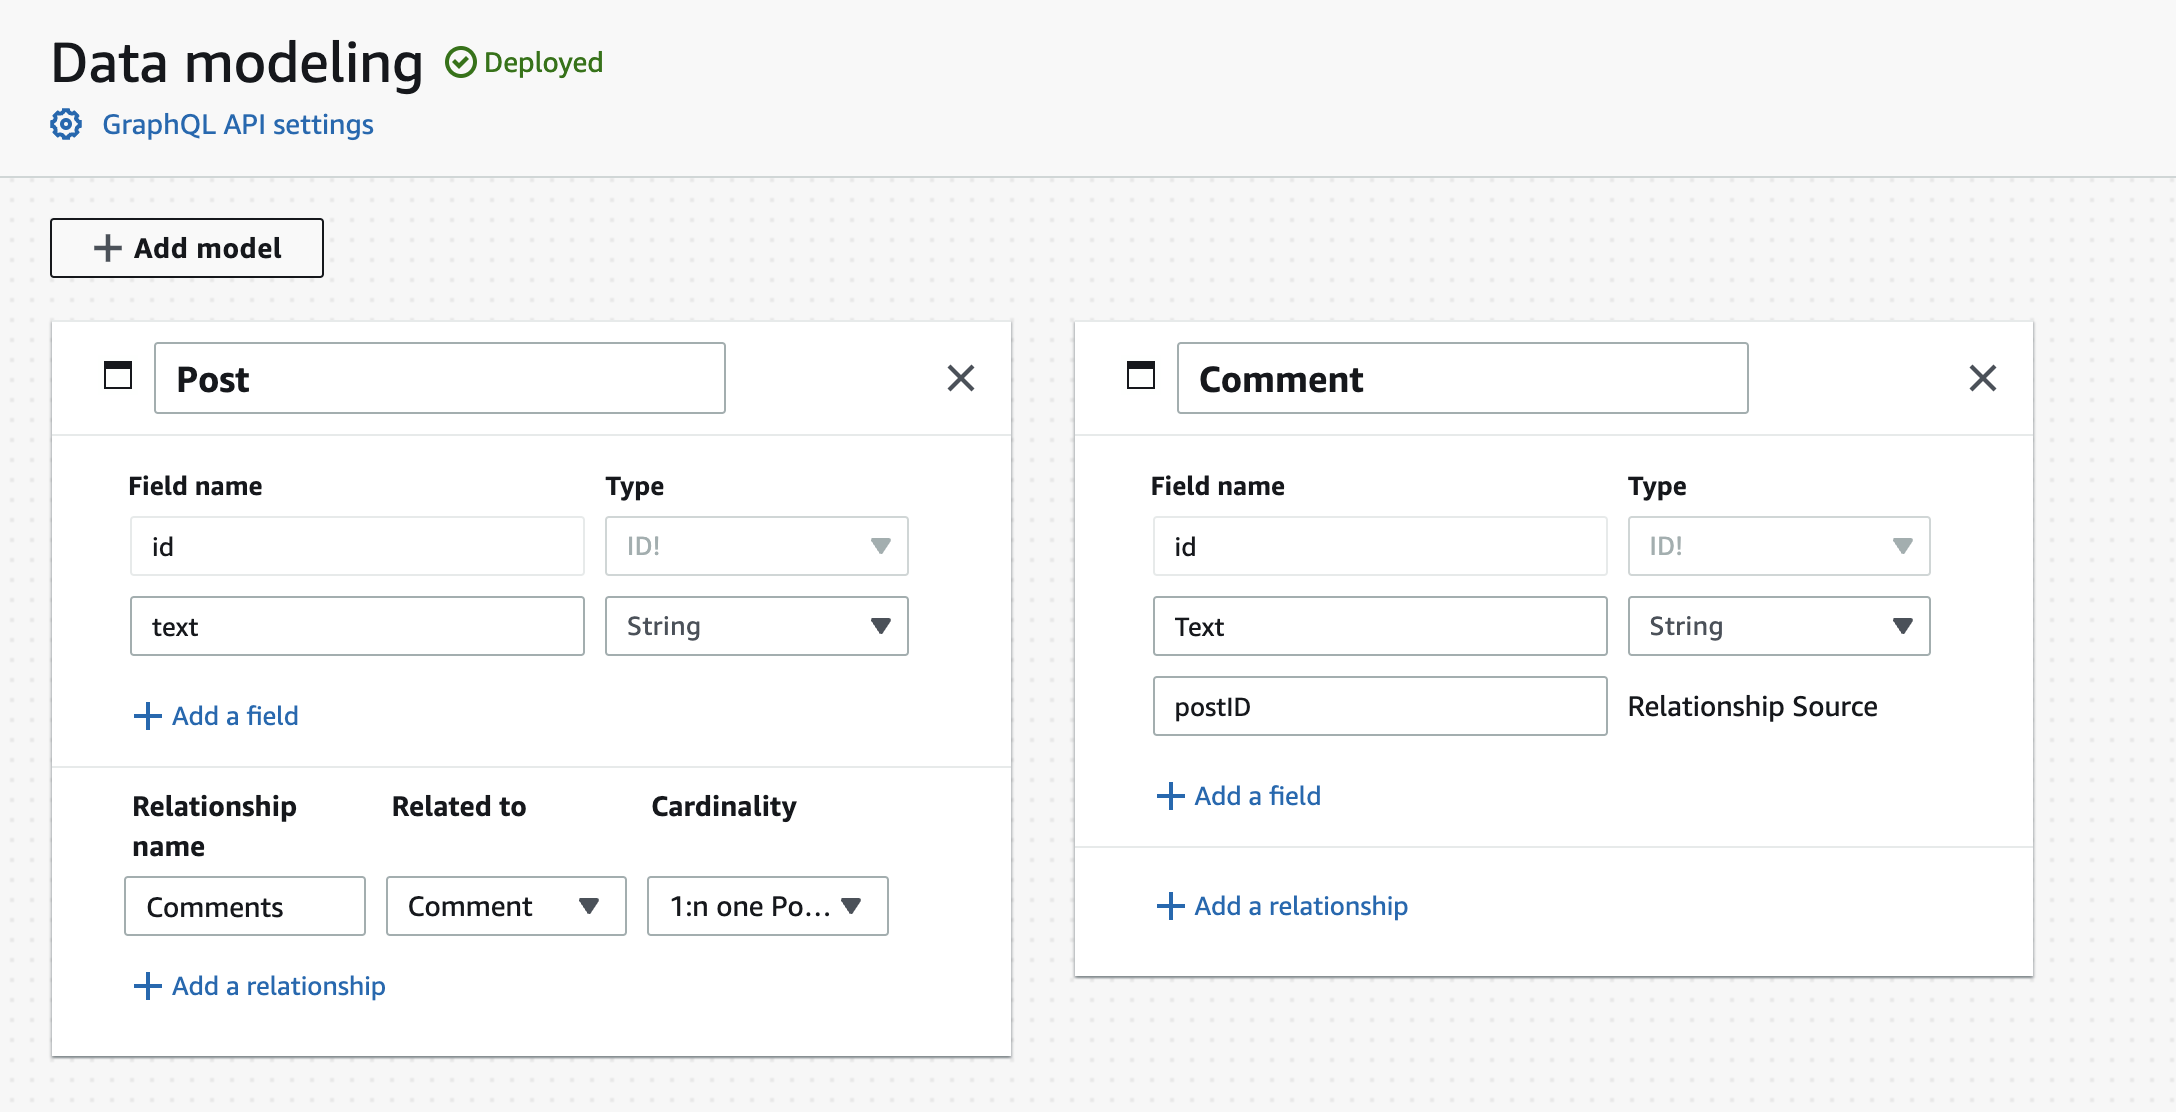
After adding these models make sure you click the Save and Deploy button in the top right hand corner. It may take a few minutes to deploy.
UI Library and Form Builder
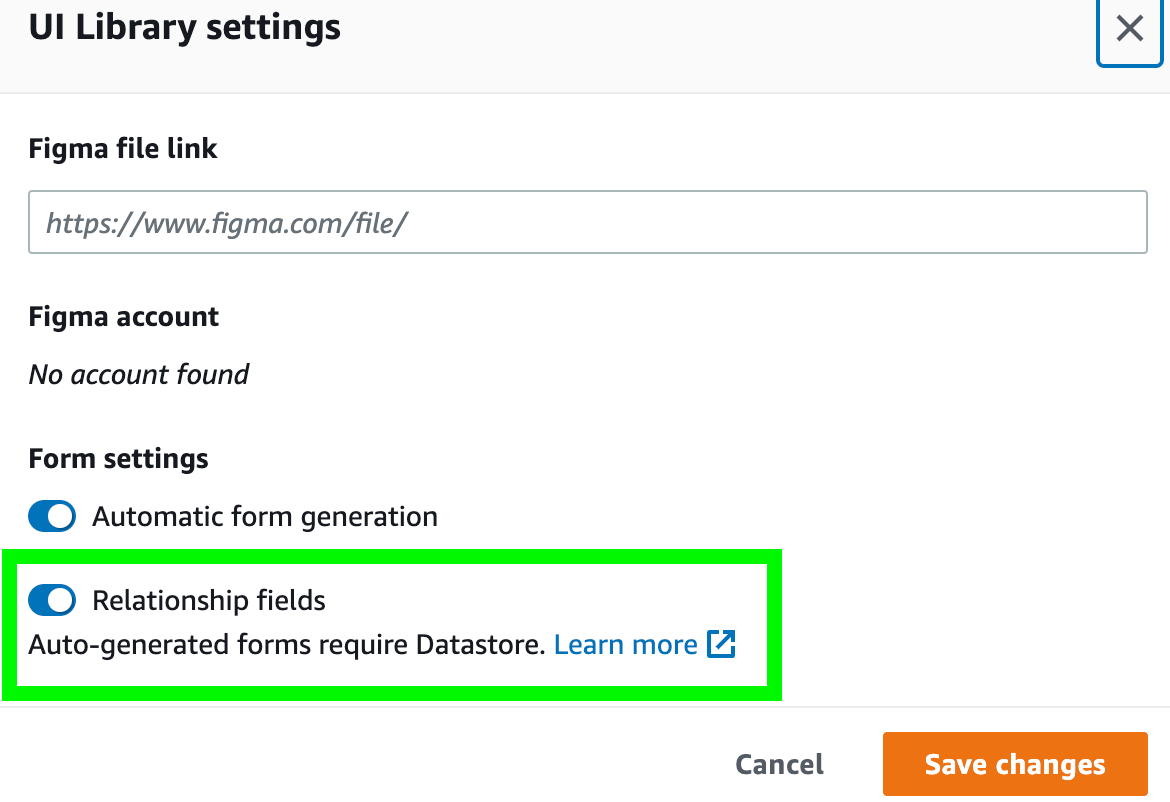
Before going further, let’s turn on the relationship fields feature. This must be done before this feature will be enabled in forms.
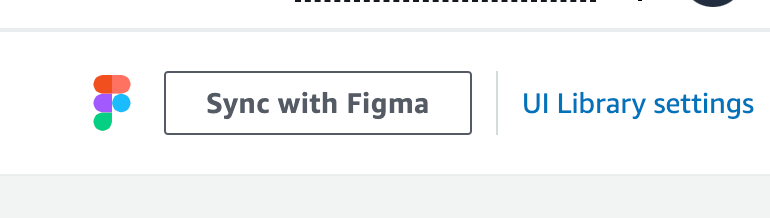
Click on UI Library.
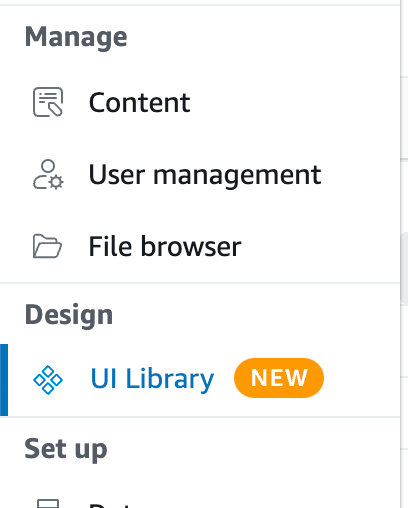
Then in the right hand corner click on UI Library settings.
Turn on the Relationships fields and you are ready to go!
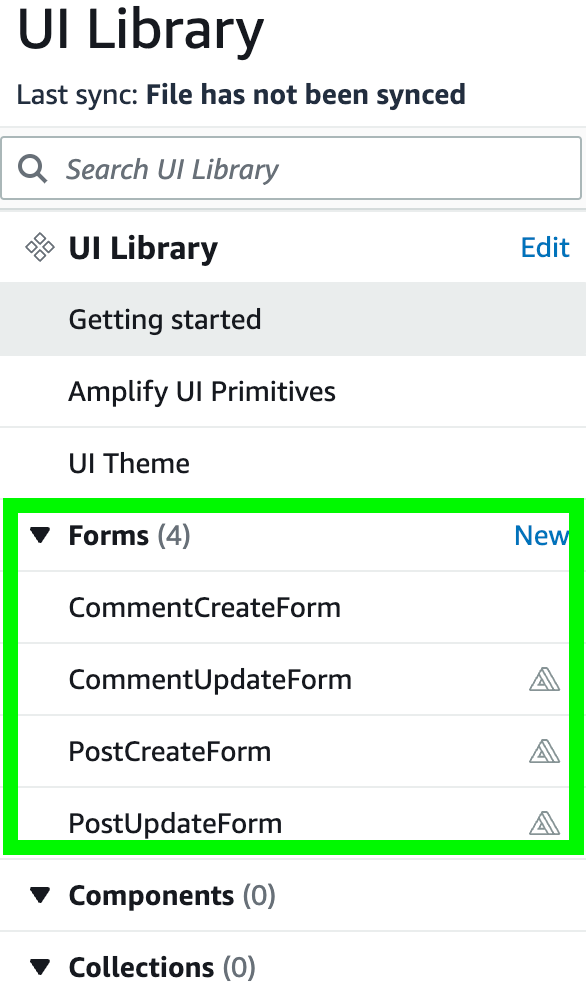
Inside the UI Library, you’ll see a section on Forms. This is the Form Builder section and allows us to create, edit, or update forms. The Comment and Post update and create forms have already been created for you after you deployed your data model.
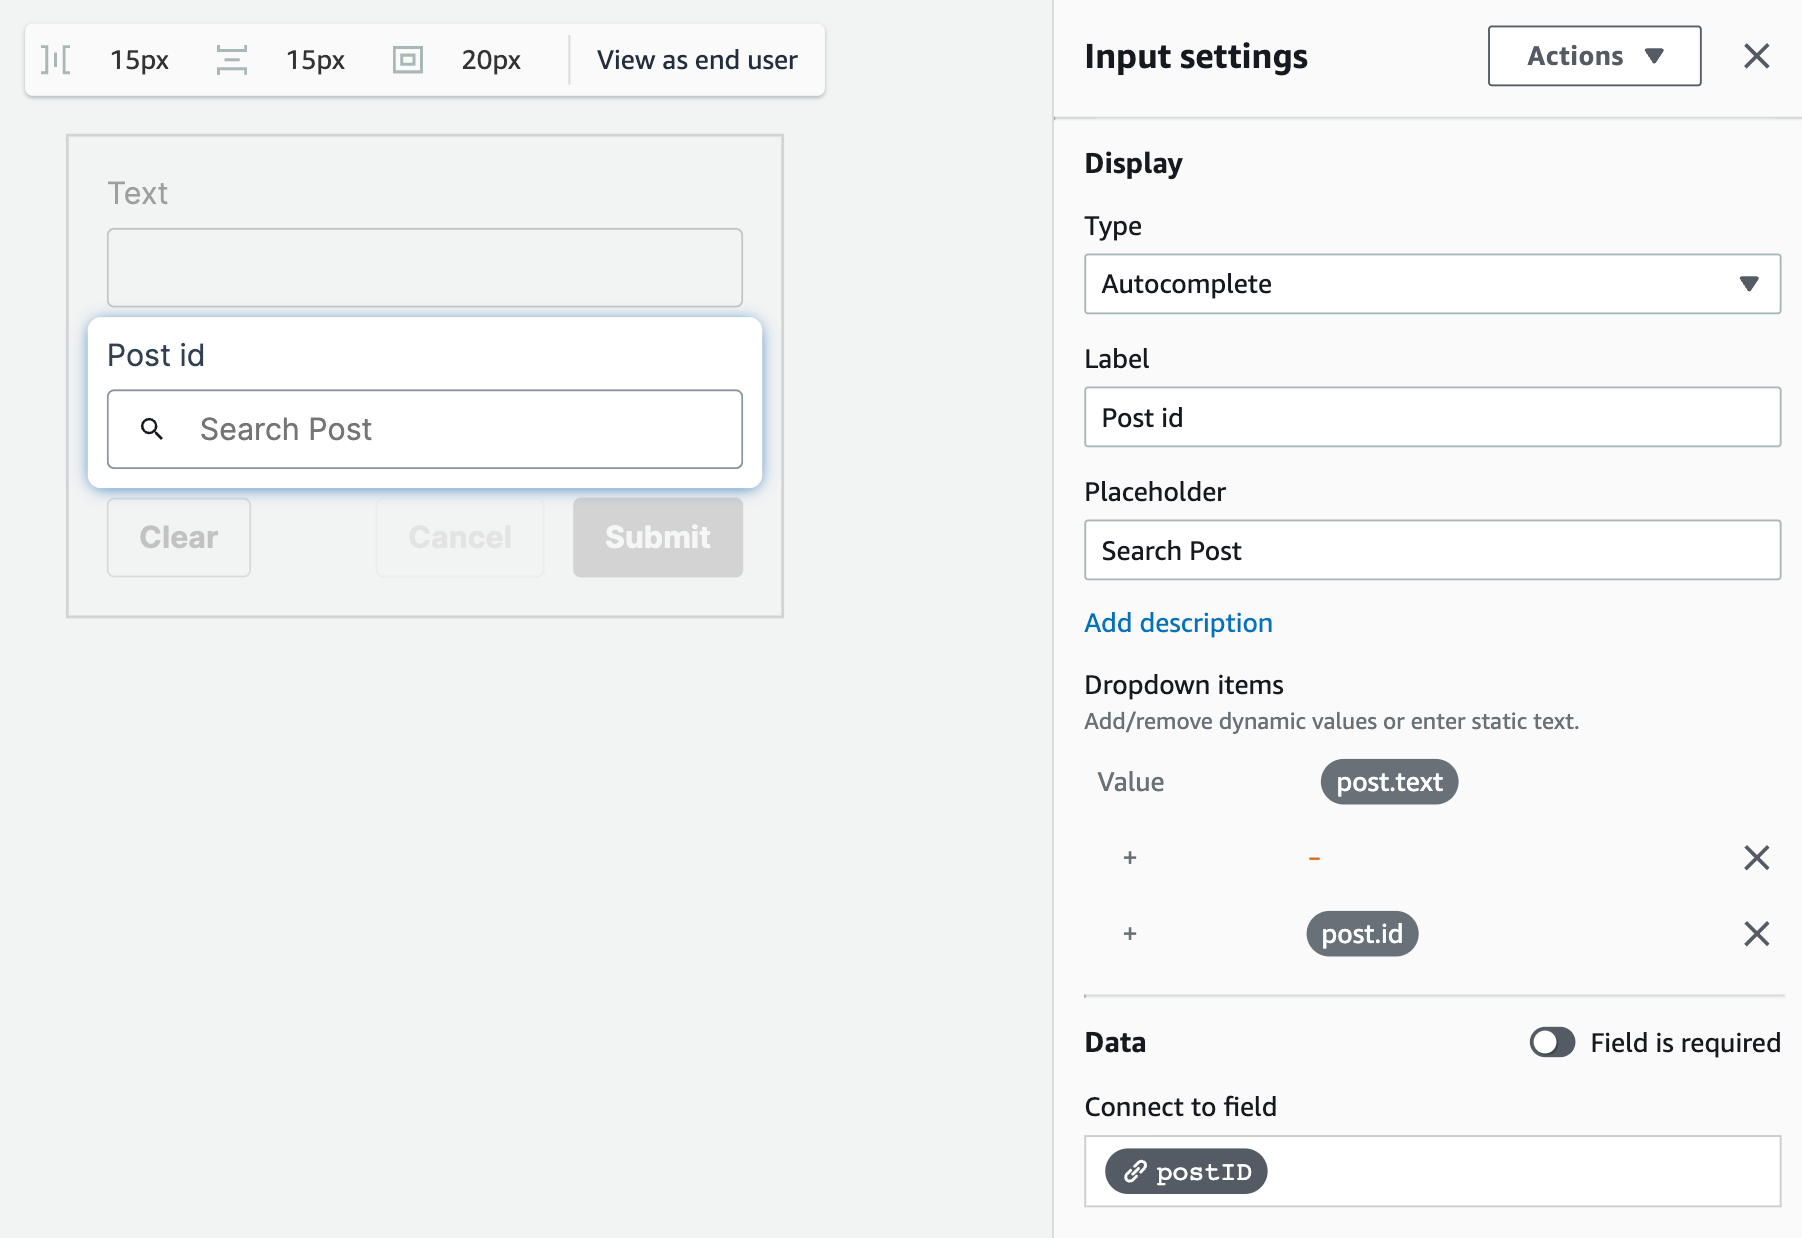
Click on the CommentCreateForm then click Configure in the top right hand corner. Here you can click on any of the fields and update their configurations.
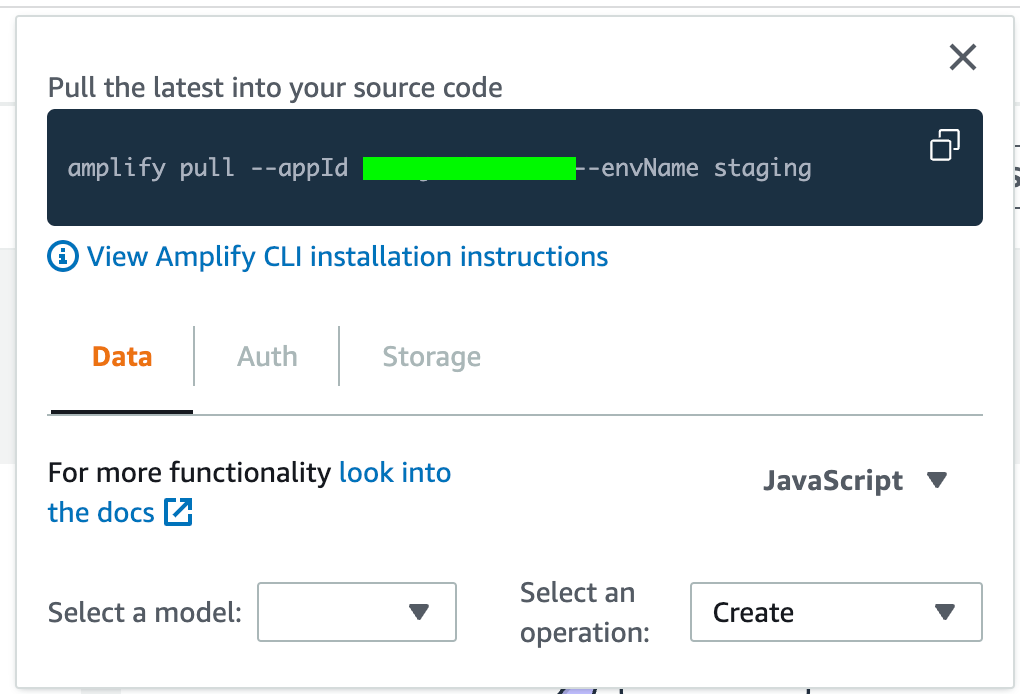
Click on the Post id field and you’ll see that the field is already setup as Autocomplete. From here you can change the displayed values that will be shown in the auto compete box. In our case the value will show the post.text - post.id in the auto complete drop down. We’ll leave it as is, but feel free to make changes if needed.
We’ll need to copy a few setup instructions before we jump into our React application. Click on the Local setup instructions in the top right hand corner. Copy the amplify pull command, we’ll need it later.
React Application Setup
Now that we have our data and forms in place we can pull the information into our existing application. Open up your React app and install these libraries with your favorite package manager.
$ npm install @aws-amplify/ui-react aws-amplifyIf not already installed, make sure you also install the Amplify CLI.
$ npm install @aws-amplify/cli -gIf this is the first time using Amplify in a while, make sure you upgrade to the latest version of the CLI.
$ amplify upgradeNext, take the command you copied from the last section and paste it into your terminal running it in the root of your React project.
$ amplify pull --appId <replace-this-with-your-id> --envName <replace-with-env-name>You should now see a few new files and directories in your project. Let’s setup Amplify so we can use our new forms!
Note: If you are using Next.js with the app router or using Vite, you may need some small additional configuration. Please follow the Next.js or Vite usage guide.
React Amplify Setup
Inside your main entry point file in your application, add these lines to configure Amplify and add in the correct styles.
import { Amplify } from "aws-amplify";
import awsExports from "../aws-exports";
Amplify.configure(awsExports);
import "@aws-amplify/ui-react/styles.css";
Make sure that you import the aws-exports from the src folder. You may need to change the path above to do this.
In your folder structure you should see a new one called ui-components . This is where all your pre-built forms are sent to. Do NOT edit these files. Any time you run an amplify pull, it will override them. If you’re interested in changing the forms, try to make the changes in Form Builder first. If that’s not sufficient, you can override and customize in code.
In your jsx/tsx file, import in these components.
import CommentCreateForm from "@/ui-components/CommentCreateForm";
import PostCreateForm from "@/ui-components/PostCreateForm";
Let’s build the rest of the component out. We’ll be using the Amplify UI Components library for our design.
// Home.tsx
import CommentCreateForm from "@/ui-components/CommentCreateForm";
import PostCreateForm from "@/ui-components/PostCreateForm";
import { Heading, Flex } from "@aws-amplify/ui-react";
export default function Home() {
  return (
    <Flex width="600px" margin="0 auto" direction="column" gap="1rem">
      <Flex
        direction="column"
        alignItems="center"
        width="100%"
        backgroundColor="white"
      >
        <Heading level={2}>Add Comment</Heading>
        <CommentCreateForm width="100%" marginBottom={"1rem"} />
      </Flex>

      <Flex
        direction="column"
        alignItems="center"
        width="100%"
        backgroundColor="white"
      >
        <Heading level={2}>Add Post</Heading>
        <PostCreateForm width="100%" />
      </Flex>
    </Flex>
  );
}
Start your development server and you should see both forms! In the Add Post form, add some text and click Submit. You are not required to add a comment to a post.
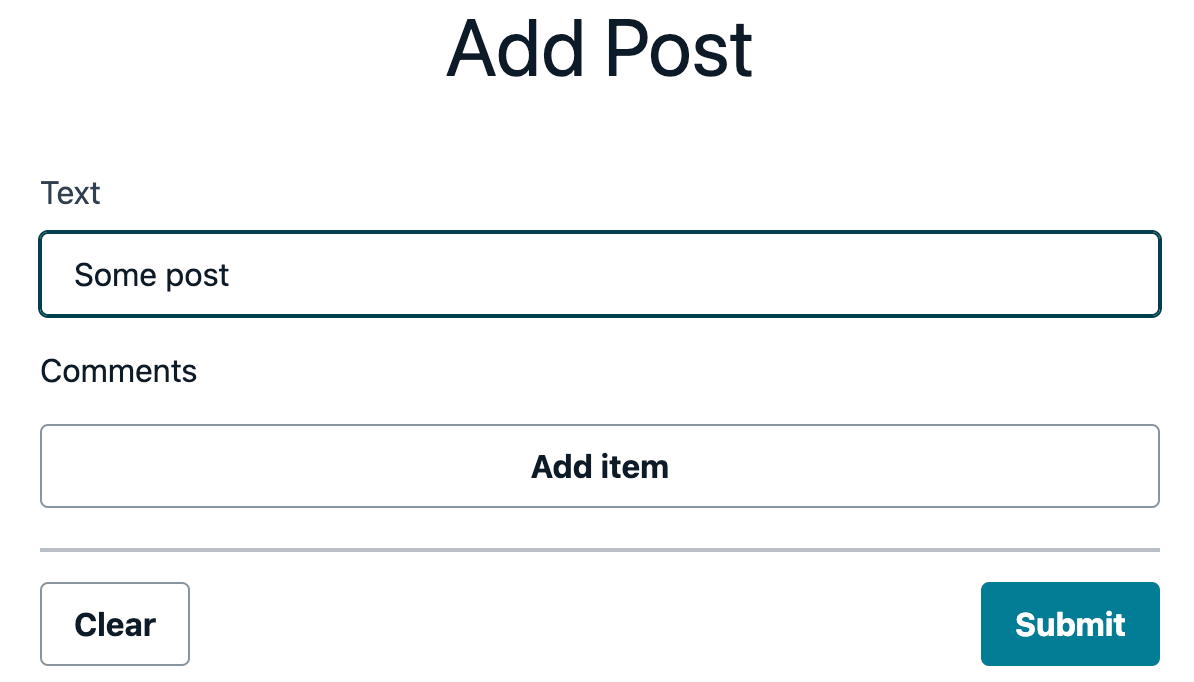
Go ahead and create a couple of posts. Since you don’t have any comments yet, you don’t need to click the Add item button at this point.
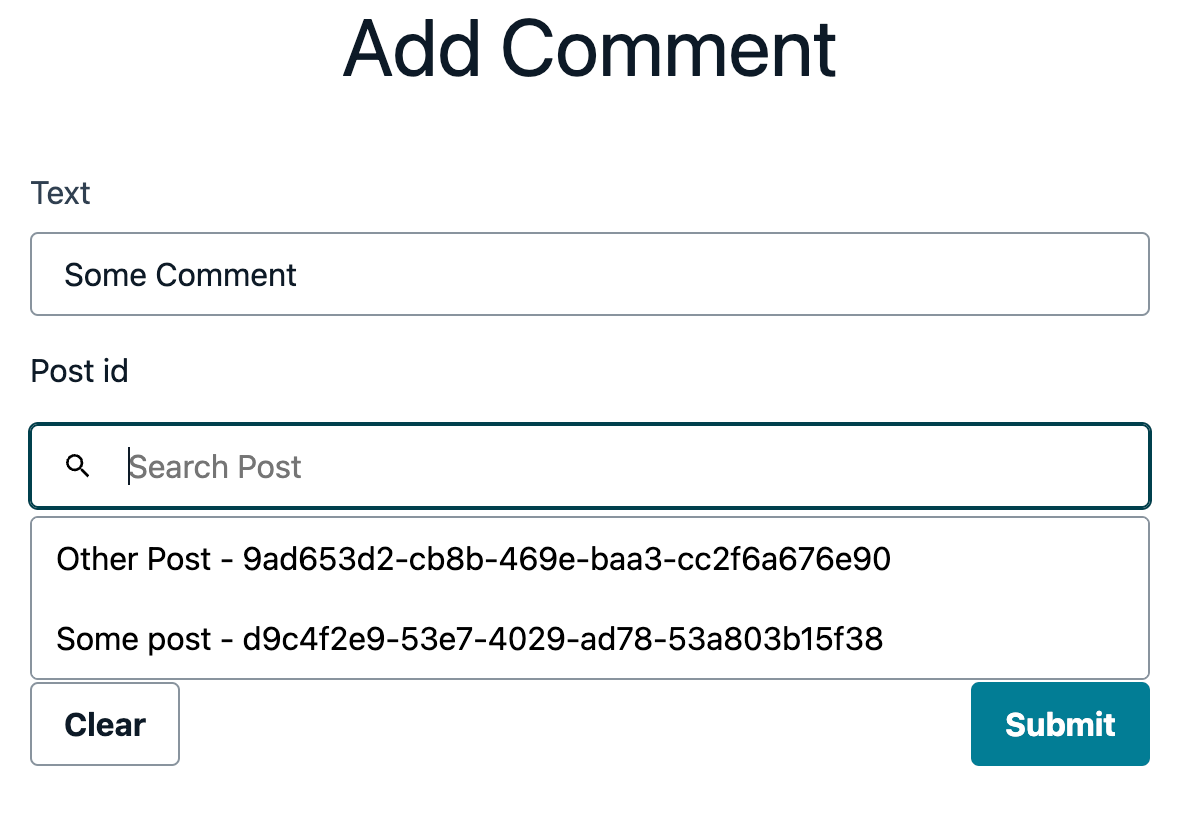
Let’s add a comment and attach it to a post. Go into the Add Comment form add some text, and click the Add item button. You should see an auto complete field. As you start typing you’ll see the comments you just created! Click on one of them and then click Add. Then click the Submit button!
Make sure you don’t forget to click the Add button after selecting a post. Otherwise the Post won’t be attached to the comment!
After submitting the comment, let’s check if it worked! Go back into Amplify Studio and click on the Content tab on the left hand side.
From here, you will see a Select table selector. Go ahead and click on it and set it to Post. You can then click on the post you just created. You should than see the comment attached to the Post!
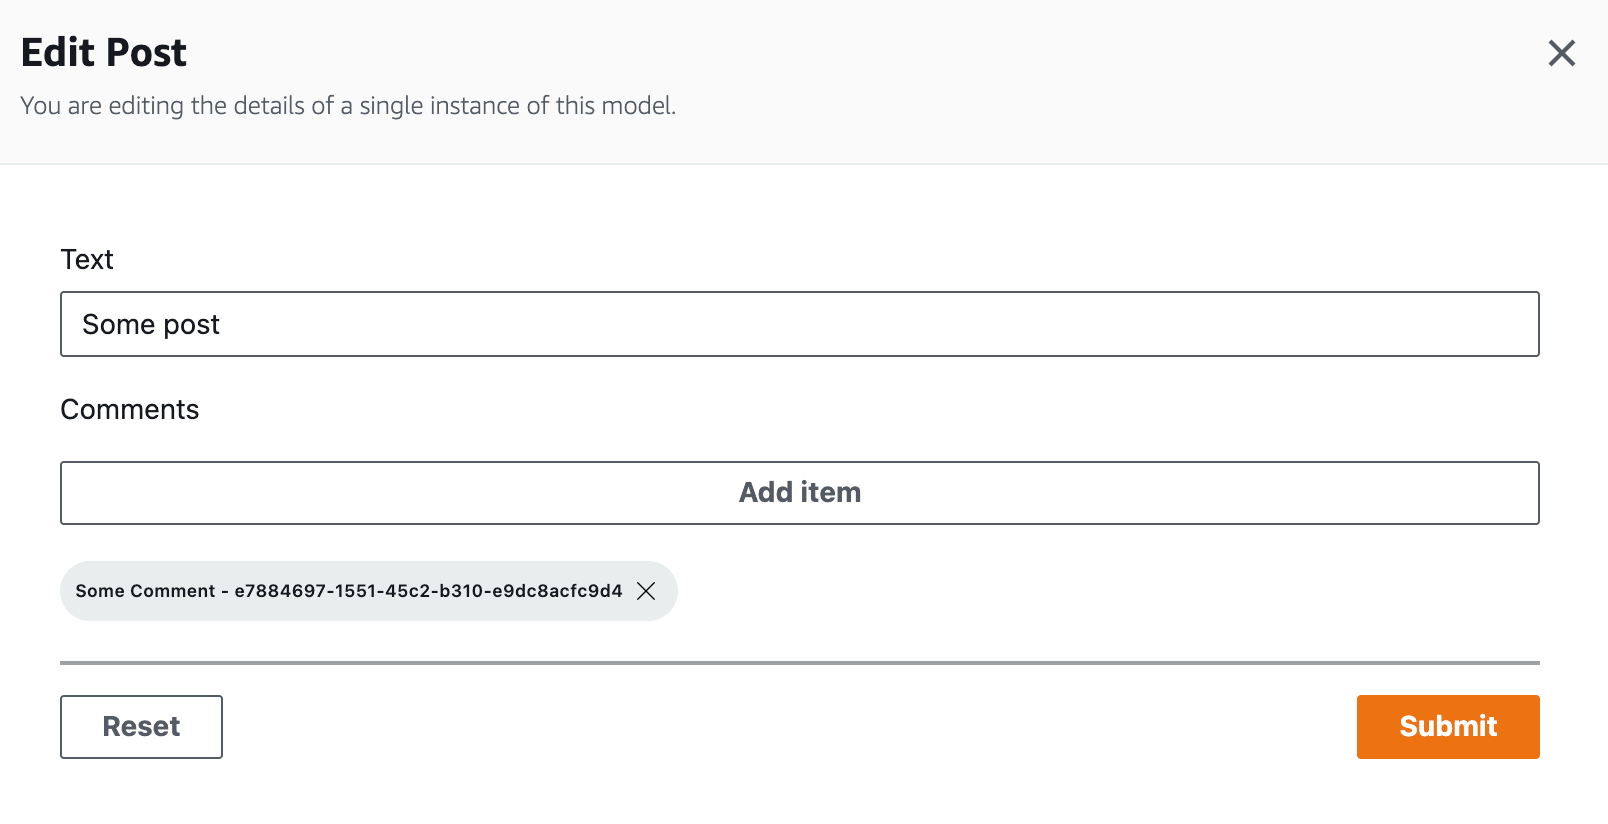
You can edit or delete post or comments from this Content Manager!
Conclusion
Today, we looked at Amplify Studio and Form Builder. We provisioned a full AppSync backend and created our own Data Models. We then used the new Form Builder Autocomplete fields with relationships to create a simple admin interface to add posts and comments.
Please let me know what you think! Tweet me at ErikCH with any questions or comments!