Hello World Tutorial With Aurelia.js 2016

Aurelia is a JavaScript front-end framework. It's similar to frameworks like Angular, Ember and React. I've written about it in the past but it's been a while. Here is an updated guide on how to get started using it.
In this tutorial we'll go over the installation and how to run your first program.
Installation
Before we get everything installed we'll assume you have Node and npm installed. If not I would highly recommend nvm. It's a version manager for Node. Check for the instructions on the website on how to install it.
We also need jspm. This tool is another package management system.
Let's create the directories and install the tool.
$ mkdir HelloWorld
$ cd HelloWorld
$ npm install jspm -g
$ npm install http-server -g
The npm install jspm -g installs jspm globally. We'll use the http-server later to test our build. We are now ready to create our program.
Hello World Aurelia!
At this point we could use the Aurelia starter files. However for this tutorial let's just create everything from scratch.
Beging by running the jspm init command.
$ jspm init
At this point you'll be prompted if you want certain config files to be created. Just hit enter through everything.
Next make sure you have jspm installed locally.
$ npm install jspm --save-dev
Now we can install two framework packages for Aurelia. First we'll install the aurelia framework then the aurelia bootstrapper.
$ jspm install aurelia-framework
$ jspm install aurelia-bootstrapper
This will install all the dependency for Aurelia and our example.
Next let's add an index.html file. This will use SystemJS to load our app.
<!DOCTYPE html>
<html>
  <head>
    <title>Aurelia</title>
    <meta name="viewport" content="width=device-width, initial-scale=1">
  </head>
  <body aurelia-app>
    <script src="jspm_packages/system.js"></script>
    <script src="config.js"></script>
    <script>
      System.import('aurelia-bootstrapper');
    </script>
  </body>
</html>
Keep in mind here the body tag aurelia-app. This tells aurelia to load the app view-model and it's view. We'll set that up in a second.
Next create a directory for our src files.
$ mkdir src
Now we can create the app view-model.
Let's create the app.js file first
// src/app.js
export class App{
    message = 'Hello World Aurelia';
}
This file contains our message. We'll bind this message in our html file.
Let's create the HTML file.
// src/app.html
<template>
<h1>${message}</h1>
</template>
Our html file must be surrounded by template angle brackets. This is where we'll put in our HTML. It uses the same w3c standards for web components. In this case we'll simply display hello world.
Now that we have our src files, let's go back to the main folder and edit the config.js file. We'll need to specify the src folder in our path as well as add some more babelOptions. Your config.js file should look like this.
// config.js
System.config({
  baseURL: "/",
  defaultJSExtensions: true,
  transpiler: "babel",
  babelOptions: {
    "optional": [
      "runtime",
      "optimisation.modules.system",
      "es7.decorators",
      "es7.classProperties"
    ]
  },
  paths: {
    "*": "src/*",
...
We added the es7 decorators and class properties. We also added a src path where our app files are at.
That should be it! So let's run the server.
$ http-server -o -c-1 -p 4200
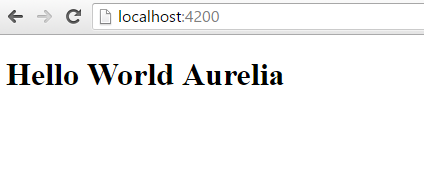
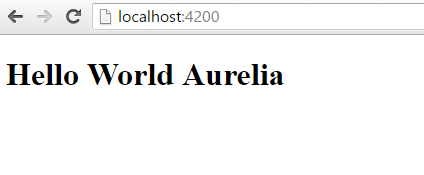
This will run a web server on port 4200. We can now open up a web browser and we should see this.
Future
This is a fairly simple example and there is a lot more we could have done here. In my next Aurelia tutorial I'll go over some more getting started commands! Thanks!
If you haven't already check out my new book the Ember.js Cookbook! I have over 65 recipes that will bring you from a beginner to expert in no time!


